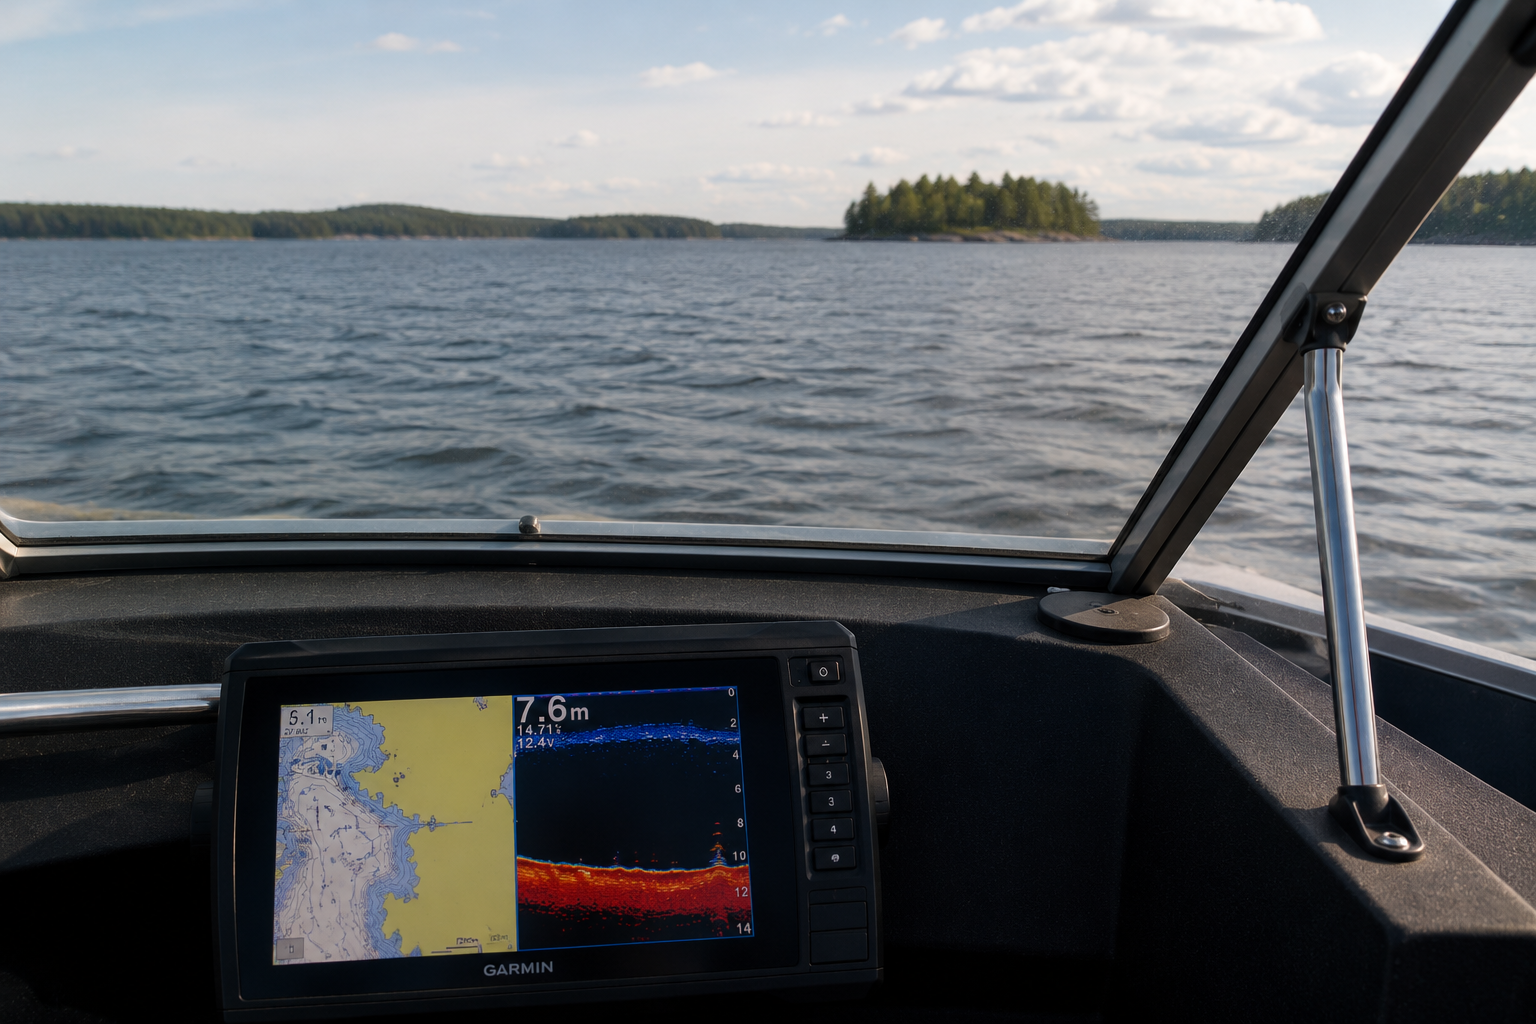
Installing a
fishfinder on your boat is a job you can do yourself by following the
manufacturer's instructions and understanding the principles of transducer
placement. A correctly installed fishfinder delivers a clear picture of the
bottom and fish at all speeds. Installing the transducer is the most critical
step, since its location, angle, and mounting method directly affect image
quality.
This guide covers
the three most common installation methods – transom mounting, through-hull
mounting, and in-hull mounting – as well as mounting the display, wiring, and
testing, step by step. The instructions apply to fishfinders from all the most
common brands, such as Lowrance, Garmin, Raymarine, and Simrad.
What do you need to install a fishfinder?
Before starting
the installation, make sure you have all the necessary tools and supplies.
Careful preparation saves time and reduces the risk of mistakes.
Basic tools for
installing a fishfinder:
A cordless drill
and appropriately sized bits (for pilot holes and cable runs)
Screwdrivers and
Allen keys
A spirit level or
digital angle gauge (for checking the transducer's mounting angle)
A marker pen and
tape measure
Wire strippers
and connectors for wiring
Sealant
(polyurethane or silicone) for sealing screws and holes
You'll also need
the mounting hardware supplied with the unit, and possibly a separate
transducer mount if you want an adjustable installation or an easy way to
remove it.
Fishfinder transducer
installation methods
How you install a
fishfinder's transducer depends on the boat's material, construction, and
intended use. Each installation method has its own advantages and limitations.
Transom mounting – the most
common and easiest method
Transom mounting
is the most popular way to install a fishfinder transducer, especially on
flat-bottomed motorboats and aluminum boats. The transducer is mounted on the
outside of the transom on a separate bracket that allows height and angle
adjustment.
Steps for transom
mounting:
Choose the
location carefully: The transducer should be placed where water flow is as
smooth as possible. Avoid areas near strakes, the propeller, and the engine.
The ideal location is 15–30 cm to the side of the propeller and below the
boat's bottom line.
Attach the
mounting bracket: Mark the bracket's mounting hole positions on the transom.
Drill pilot holes and apply sealant to both the holes and under the bracket.
Fasten the bracket securely with screws.
Adjust the
transducer's height: The bottom edge of the transducer should be level with the
boat's bottom line, or 2–5 mm below it. A transducer
mounted too high loses contact with the water at higher speeds.
Adjust the tilt angle: The transducer should
be tilted slightly forward (about 3–5 degrees) to achieve optimal beam
alignment. Most brackets include an adjustment feature.
Route the cable: Run the transducer cable into
the boat through a watertight fitting or over the gunwale. Protect the cable
from chafing and secure it neatly along its route.
When mounting on the transom, it's important
to avoid areas where air bubbles or turbulence could interfere with the signal.
The transducer should be in an area of smooth water flow, away from the
propeller and any strakes.
Installing a Lowrance fishfinder transducer
Installing a Lowrance fishfinder transducer
follows the same basic principles as transducers from other brands, but
Lowrance's transducer mounts and connectors are brand-specific. Lowrance's
popular transducers, such as TripleShot and Active Imaging, often include a
transom mount in the box.
Features specific
to Lowrance transducers:
TripleShot HD
combines traditional CHIRP sonar with DownScan and SideScan imaging –
installation requires smooth flow to the side as well
Active Imaging
3-in-1 needs a bit more space and distance from the propeller to ensure
side-imaging performance
Live transducers
(ActiveTarget) can be mounted on the bow with a trolling motor or on a transom
mount with 360° rotation
Through-hull mounting –
for sailboats and wooden-hulled boats
Through-hull
mounting is the best option for sailboats and boats where transom mounting
isn't possible or where an interference-free picture is wanted in all
conditions. The transducer is installed through the boat's bottom so it's in
direct contact with the water.
Steps for
through-hull mounting:
Choose
the mounting location: The ideal location is near the keel on the centerline,
where water flow is smooth. Avoid areas where the hull shape causes turbulence.
Drill the
hole: Use a hole saw or a suitable drill bit to cut the opening needed for the
transducer housing. Bronze or brass transducers are recommended for wooden
boats.
Install
the fitting: Apply plenty of marine sealant between the transducer housing and
the hull. Tighten the internal locknut evenly.
Seal
carefully: Watertightness is absolutely critical for through-hull mounting.
Check for leaks before launching the boat.
Through-hull
transducers are generally more expensive than transom transducers, but they
offer the best image quality and reliability in demanding conditions.
Raymarine's bronze through-hull transducers are a popular choice for sailboats.
In-hull mounting – for
fiberglass boats
In-hull
mounting suits fiberglass boats where you don't want to drill holes through the
bottom. The transducer is glued to the inside of the hull, and the signal
passes through the fiberglass. This method is easy and safe, but the signal is
slightly attenuated.
Requirements for
in-hull mounting:
The boat's bottom
must be solid fiberglass with no cored construction (no foam or wood core
sandwich layup)
Fiberglass
thickness should be no more than 3–5 mm
There
must be no air pockets or contaminants at the mounting location
Installation
steps:
Test the
location: Before gluing, test the transducer's performance by holding it in a
water-filled plastic bag against the hull. This confirms the signal passes
through the laminate.
Clean and
roughen the surface: Lightly sand both the transducer face and the inside of
the hull, and clean with acetone.
Glue the
transducer: Use epoxy or the mounting compound recommended by the manufacturer.
Make sure no air bubbles remain in the glue layer.
Let it
cure: Epoxy typically takes about 24 hours to fully cure. Don't use the
fishfinder before it has fully cured.
Note that
in-hull mounting isn't suitable for wooden boats or most aluminum boats – in
these cases, choose transom or through-hull mounting instead.
Installing the
fishfinder display
The
display's mounting location significantly affects ease of use. The display
should be easy to read from the helm, while also being protected from direct
sunlight and splashing water.
Mounting options: on a
mount or flush-mounted?
Steps for installing the
display
Choose
the location: The display should be at or slightly below eye level in a normal
driving position. Avoid locations where the sun reflects directly off the
screen.
Plan the
cable runs: Plan the routes for the power cable and transducer cable before
mounting. Watertight fittings are essential if cables pass through the deck or
dashboard.
Attach
the mount: Mark the mounting points, drill the holes, and attach the mount with
screws. Seal the holes to be watertight.
Attach
the display: Place the display in the mount and lock it in place. Adjust the
viewing angle to suit.
Wiring and connections
Wiring
the fishfinder is an important step that affects the device's reliability and
electrical safety. Always follow the manufacturer's wiring instructions and use
sufficiently heavy cables.
Power connection
A
fishfinder is typically connected to the boat's 12V DC power supply. The
recommended method is to run power directly from the battery through a separate
fuse. This reduces interference and ensures a steady power supply.
Power wiring
principles:
Use a
sufficiently thick cable (at least 1.5 mm² for most fishfinders)
Install a
fuse on the positive (+) wire as close to the battery as possible
Connect
the ground wire (−) directly to the battery's negative terminal or the boat's
ground bus
Avoid
taking power from the ignition switch – it can cause interference
You'll
find more information on boat electrical system basics in our boat electrical
system guide and battery wiring instructions.
Routing the transducer
cable
The
transducer cable is sensitive to interference, so its routing should be done
carefully:
Avoid
proximity to electric motors, the ignition system, and other sources of
interference
Don't coil the
cable into a tight loop – it can cause interference
Protect the cable
from chafing and mechanical damage
Don't shorten the
cable unless necessary – excess length can be neatly coiled
NMEA 2000 network connection
Modern
fishfinders and chartplotters can be connected to the boat's NMEA 2000 data
network, allowing devices to share information with each other. A network
connection enables, for example:
Sharing GPS data
across multiple displays
Showing engine
data on the chartplotter
Integrating an
autopilot with the navigation system
Transducer mounts – removable
installation for anglers
If you don't want
to drill holes in the transom, or want to move the fishfinder easily between
boats, a removable transducer mount is an excellent solution. Modern transducer
mounts clamp onto the boat's gunwale or transom without tools.
Types of
transducer mounts:
Gunwale-clamp
mount: Clamps onto the boat's gunwale without drilling. Easy to remove and
move. Especially suited to aluminum boats and rental boats.
Lift mount:
Allows the transducer to be raised when coming ashore or in shallow water.
Protects the transducer from impacts and makes trailering easier.
360° rotating
live-sonar mount: Designed specifically for live sonar transducers (e.g.,
Lowrance ActiveTarget, Garmin Livescope). Allows the transducer to be turned in
different directions depending on the fishing situation.
Patriot MultiFix
and LiveFix 360 are popular options that suit most boat types and transducers.
These mounts also support ice-fishing use – the same transducer and mount work
both during the open-water season and on ice.
Installing a live sonar – a
real-time view for fishing
Live sonar units,
such as Lowrance ActiveTarget and Garmin Livescope, show a real-time image of
fish and lure movement. Installing these devices differs from traditional
fishfinders, since transducer orientation and position are critical.
Live transducer
mounting options:
Transom,
forward-facing: The transducer points toward the front of the boat and shows
what's ahead. Suits slow-trolling jig fishing.
Transom,
down-facing: A traditional real-time depth view. Excellent for vertical jigging
and ice fishing.
Bow, on the
trolling motor: The transducer is mounted on the electric trolling motor's
shaft. Offers the best view of the fishing area and allows precise casting to
the right spot.
Live transducers
often need a separate battery system due to their power draw. We recommend
connecting them to their own lithium battery for interference-free operation.
Find more information on battery choices in our lithium vs. lead-acid battery
comparison.
Testing and fine-tuning
After
installation, the fishfinder should be tested before regular use. Testing
reveals any installation mistakes and helps optimize the settings.
Testing steps
Check the
connections: Make sure all connectors are securely in place and power
connections are correct.
Power on the
unit: Check that the display starts up normally and detects the transducer.
Test on the
water: Drive the boat at different speeds and watch the picture. Interference
or the picture dropping out at certain speeds points to a transducer location
or angle problem.
Adjust the
transducer angle: If the picture is disturbed at higher speeds, tilt the
transducer slightly further forward.
Optimize the
settings: Adjust sensitivity, depth range, and other settings to match
conditions.
The most common installation
mistakes and how to avoid them
A fishfinder
installation can go wrong in many ways. Knowing the most common mistakes helps
you avoid them in your own installation.
Frequently asked questions about
installing a fishfinder
Can I install a fishfinder
myself?
Yes, installing a
fishfinder is a job you can do yourself with basic tools and the manufacturer's
instructions. Transom mounting is the easiest to carry out, while through-hull
mounting requires more experience and care to ensure watertightness.
Where should the fishfinder
transducer be placed?
The ideal
location is on the transom, about 15–30 cm to the side of the propeller, below
the boat's bottom line. There should be unobstructed flow ahead of the
transducer, free of strakes or other structures that would cause turbulence.
How is a Lowrance fishfinder
transducer installed?
Installing a
Lowrance fishfinder transducer follows the same principles as transducers from
other brands. Use Lowrance's own mounts and follow the instructions included in
the box. TripleShot and Active Imaging transducers need a bit more space to the
side for side-imaging to work properly.
Can the transducer be installed
inside the boat?
Yes, on
fiberglass boats the transducer can be glued to the inside of the hull. This
requires solid (non-cored) laminate and a maximum laminate thickness of 3–5 mm.
Always test performance before gluing permanently.
Why doesn't the fishfinder show a picture while underway?
The most common cause is the transducer being
in the wrong position or at the wrong angle, letting air bubbles block the
signal. Lower the transducer slightly and tilt it 3–5 degrees forward.
Does a fishfinder need its own fuse?
Yes, a separate fuse protects both the device
and the boat's electrical system. Use the fuse size recommended by the
manufacturer and install it as close to the battery as possible.
Can I use the same transducer with a new fishfinder?
It depends on the transducer type and device.
Units from the same manufacturer are often compatible with each other, but
compatibility between different brands is rare. Always check compatibility
before replacing the unit.
How often does the transducer need cleaning?
The transducer should be cleaned at the start
and end of the season, and any time you notice a decline in image quality.
Remove algae and grime with a soft brush and mild detergent.
Fishfinder transducer care and maintenance
A properly maintained fishfinder transducer
lasts for years and keeps its image quality. Maintenance is simple but
important, especially in salt water.
Seasonal maintenance tasks:
At the start of the season: Check the
transducer mount, cable condition, and connector corrosion. Clean the
transducer face and test operation before launching.
During the season: Check regularly that algae
or barnacles haven't built up on the transducer face. In salt water, rinse with fresh water after every
outing.
At the end of the
season: Clean the transducer thoroughly, check the condition of the sealant,
and tighten any loose screws. During winter storage, make sure no water is left
in the transducer to freeze.
Transducer cable
connectors are prone to moisture and corrosion. Protect connectors with a
moisture-proof cover or waterproof tape, especially if they're located
somewhere exposed to splashing water.
Order fishfinders and
installation supplies from Marinekauppa
Installing a
fishfinder is an investment that pays for itself through safer boating and more
successful fishing trips. A correctly installed unit works reliably year after
year and provides an accurate picture of the underwater world.
In Marinekauppa's
extensive range you'll find Lowrance, Garmin, and Raymarine fishfinders, plus
all the supplies needed for installation – transducer mounts, cable fittings,
and cables. Browse our range
and order today!
Sources
Lowrance – Sonar
and Transducer Basics
Garmin –
Fishfinder user manuals
Raymarine –
Technical documentation
Marinekauppa –
Chartplotter buying guide
|
Installation method |
Advantages |
Disadvantages |
Best suited to |
|
Mount-clamp |
Easy to remove and adjust, no drilling |
More prone to theft, takes up space |
Small boats, rental boats |
|
Flush mount |
Neat
appearance, harder to steal |
Requires cutting an opening, permanent |
Larger boats, dashboard installations |
|
Gimbal mount |
Adjustable viewing angle, removable |
Protrudes, more exposed to impacts |
Fishing boats, versatile use |
|
Problem |
Symptom |
Cause |
Solution |
|
Picture drops out at speed |
No depth reading above 20 km/h |
Transducer
mounted too high or at the wrong angle |
Lower the transducer and tilt it further
forward |
|
Constant interference |
Noise and streaks in the picture |
Transducer too close to the propeller or
engine |
Move the
transducer further from the interference source |
|
Picture only on one side |
Side-scan shows
only one direction |
The hull blocks
the beam |
Move the
transducer closer to the centerline |
|
Inaccurate depth reading |
Depth reading jumps around |
Air bubbles in
front of the transducer |
Check the transducer's location and flow
area |
Disclaimer
This guide provides general guidance only and does not replace the product manufacturer's operating, installation, or service instructions. Marinekauppa is not responsible for actions taken based on this guide or their consequences. Always check product-specific instructions and consult a qualified professional if needed.


